

"UPDATE - added instructions for access from under the car, and a video of before and after.
I don't know what it is with the horns on Hybrids and other Eco cars. They all seem to have horns that were designed by Droopy Dawg. For me that just does not work, I want a horn that shouts respect when I am in the Slow lane and someone tries to mix it up with me!
In the past my weapon of choice has been the 118db Hella SuperTone Twin Horn Kit. These bad boys will make a dead person jump!
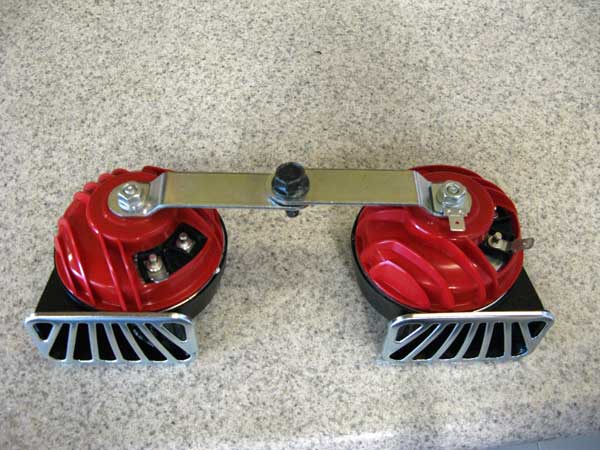
But at the recommendation of several of my Leaf owner friends, I decided to try the FIAMM 74100 El Grande - Twin Horns. At $16.60, they are a real value, they sound like my old 68 Buick, blast at 110db, and have a real tone of refinement. These horns are PnP, and don't need a relay to operate.
Replacing the stock horn is relatively easy, you can do it from the top of the car or from the bottom, I chose to go in from the top which I think is easiest, and here is how I did it. If you want to install some horns too, go for it, but if you screw something up, it's on you!
First off make sure the car is off, and in a comfortable place to work.
Accessing the Horn from the top of the car
Next open the hood and remove the front bezel that covers the radiators. It is held in with way too many pop fasteners, but they are easily removable with a small screwdriver to pry them up.
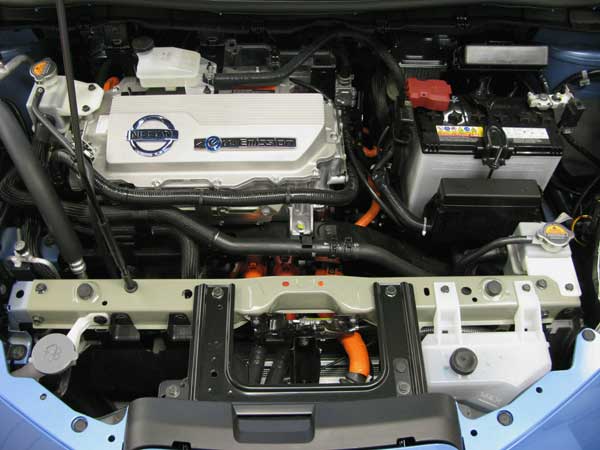
You are going to be working in the area in the front where the windshield washer fluid container neck and the coolant overflow tank is.
If you look down into the car where the coolant overflow tank is you can see the stock horn.
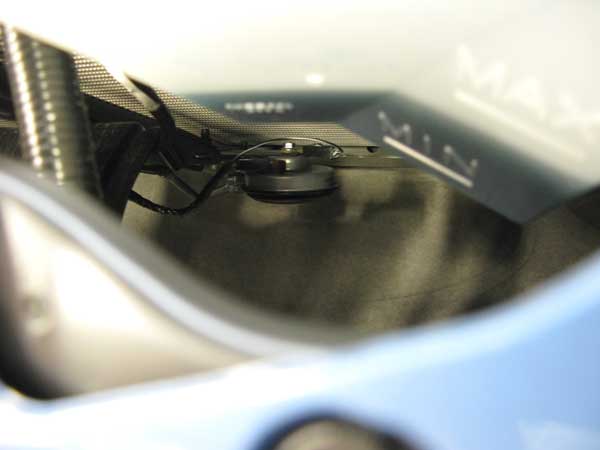
To easily get at the horn, you need to get the coolant overflow tank out of the way.

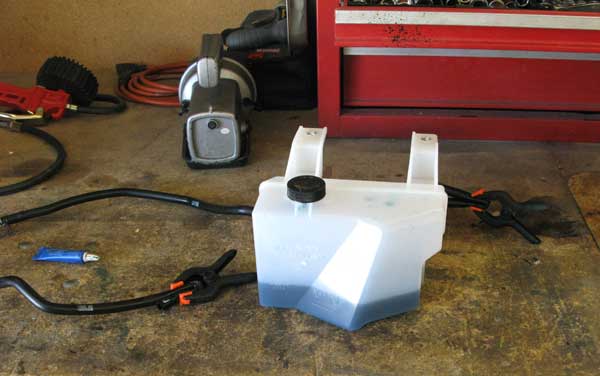
It is held in with 2 bolts, and has 2 small hoses at the bottom of the tank that go to the 2 coolant systems in the car. One is right next to the overflow tank and the other is over on the left side of the engine compartment. They both have radiator caps on them. Take a clamp of some sort and pinch off each small hose at the ends, and pull them off of their respective coolant systems. Some coolant might dribble out of the coolant system tanks, so put something under the open tank pipe to catch any runoff. After you have the coolant overflow tank and its hoses loose, it lifts right out. Set it aside. Don't let the coolant get on the car's paint, as it can discolor it. Wipe any that get on the paint off immediately. This coolant is extremely greasy, so wipe up any spills right away.
Now you have plenty of room to get at the old horn and to install the new ones.

Accessing the horn from under the car - Thanks to Tony Williams for use of his underside photos
This requires you to crawl under the car to remove the front underbody panel. This is probably best done by driving the car up on ramps, putting the car on jack stands, or on a lift. Use extreme car when working under the car, make sure that the parking brake is set, and that your lifting method is secure. Proceed at your own risk.
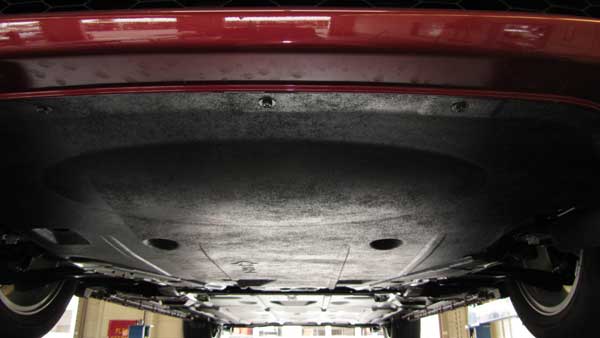
The underbody panel is made of some sort of soft lightweight material and is there primarily for aerodynamic reasons. It is fastened to the body with 6 10mm bolts and 6 pop fasteners. Note the 2 front outside bolts are longer than the rest and do not have philips screw heads.
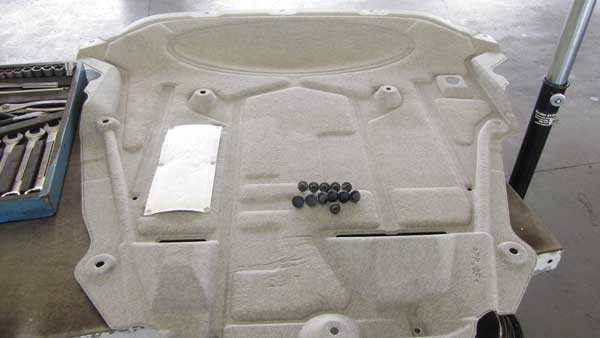

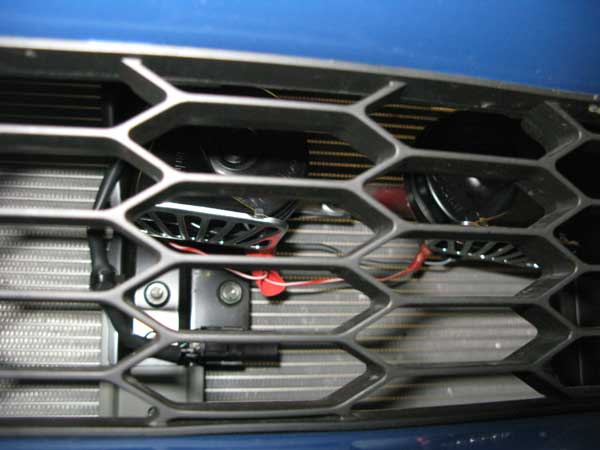
After you get the cover removed, the horn is accessible. Note from this view you can see the bottom of the coolant overflow tank.

The stock horn is held on a short bracket that is bolted to the center brace with a 12mm bolt. Take out the horn and bracket, and disconnect the power and ground leads.
The new horn assembly had to brackets to hold them apart, bolt the brackets and a ground lug to the horns securely. A good idea is to add a drop of Loctite to the horn bolts. Make sure that when you install your horns, that they are pointing DOWN, so they don't collect water.
To wire up the new horns to the existing wiring, I made a short pigtail for the power lead. The stock ground line goes to the ground lug that is bolted to the horn bracket.
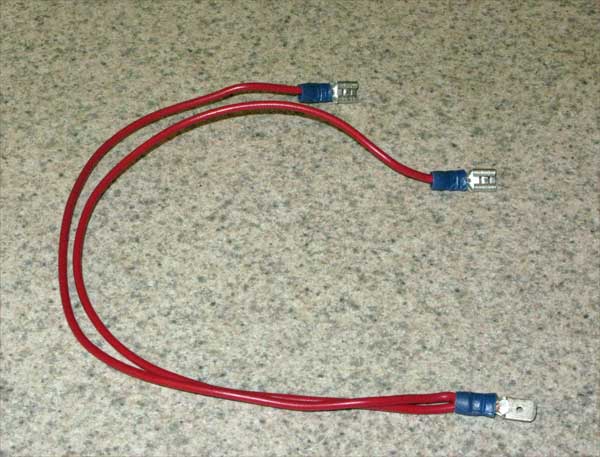
Make sure that that the single power lug (which plugs into the existing horn power connector) is a male blade and not a female like what I have on this photo (Duh!)
Now you are ready to install the new horn assembly. The two horns and their brackets get bolted to the original horn bracket, and that in-turn gets bolted to the car's center brace. Connect your power and ground wires to the power pigtail and to the ground lug respectively. (Don't mix them up! The ground wire is the LONGER wire.) I stuck a piece of shrink tubing over the power connector to pigtail connection, just to make sure there was no chance of shorting. I would highly recommend this.
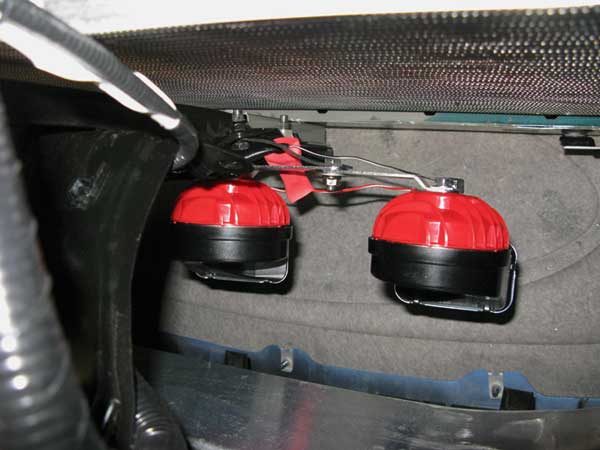
Give your new horns a try, and if they work, then reinstall the coolant overflow tank, and the top cover, and you are done!
Enjoy! For me this was the best $16.50 and hour of my time that I have spent all week!
They sound great. Get a pair and see for yourself!
Here is a short video of before and after, Credit: mwalsh:
"
Em: http://www.mynissanleaf.com/viewtopic.php?f=37&t=4000
